
I didn’t expect to ever write about tattoo removal. Like most people, I got my tattoo thinking it would stay with me forever. Mine was a medium-sized black and gray piece on my forearm nothing extreme, but visible enough to raise questions during job interviews and family gatherings.
After a few years, I realized it no longer matched who I was. Covering it up didn’t feel right either. That’s when I started looking into removal options and eventually went with PicoWay laser treatment.
This article isn’t a technical breakdown written from a clinic brochure. It’s based on what I personally went through what worked, what surprised me, what hurt (literally), and what I wish I knew before starting.
Contents
What Is PicoWay Laser (In Plain Terms)
When I first heard “PicoWay,” it sounded like marketing jargon. But here’s the simple explanation I wish someone gave me earlier:
PicoWay is a laser that breaks tattoo ink into extremely tiny particles using very short bursts of energy (picoseconds). Your body then gradually clears those particles over time.
The key difference compared to older lasers:
- It works faster on stubborn ink
- It’s generally gentler on the skin
- It can handle more colors (not just black)
That’s the theory. But how does it actually feel and perform in real life?
Why I Chose PicoWay Over Other Options
Before committing, I explored:
- Q-switched lasers (older technology)
- Tattoo cover-ups
- At-home removal creams (which I quickly ruled out)
A dermatologist I consulted showed me before-and-after photos from real patients. What stood out with PicoWay:
- Less visible scarring in most cases
- Better results on faded or layered tattoos
- Fewer sessions needed compared to older lasers (not always, but often)
Still, it wasn’t cheap and that’s something you need to be prepared for.
My First Session: What Actually Happened
Walking into the clinic, I was more nervous than I expected. Not because of pain, but because I didn’t know what to expect.
Here’s exactly how it went:
Step 1: Consultation and Skin Check
They examined:
- Tattoo size and color
- Skin tone
- Ink depth (older tattoos behave differently)
They also took baseline photos.
Step 2: Numbing (Optional but Worth It)
They applied a numbing cream for about 30 minutes.
Important note:
Even with numbing cream, you still feel it.
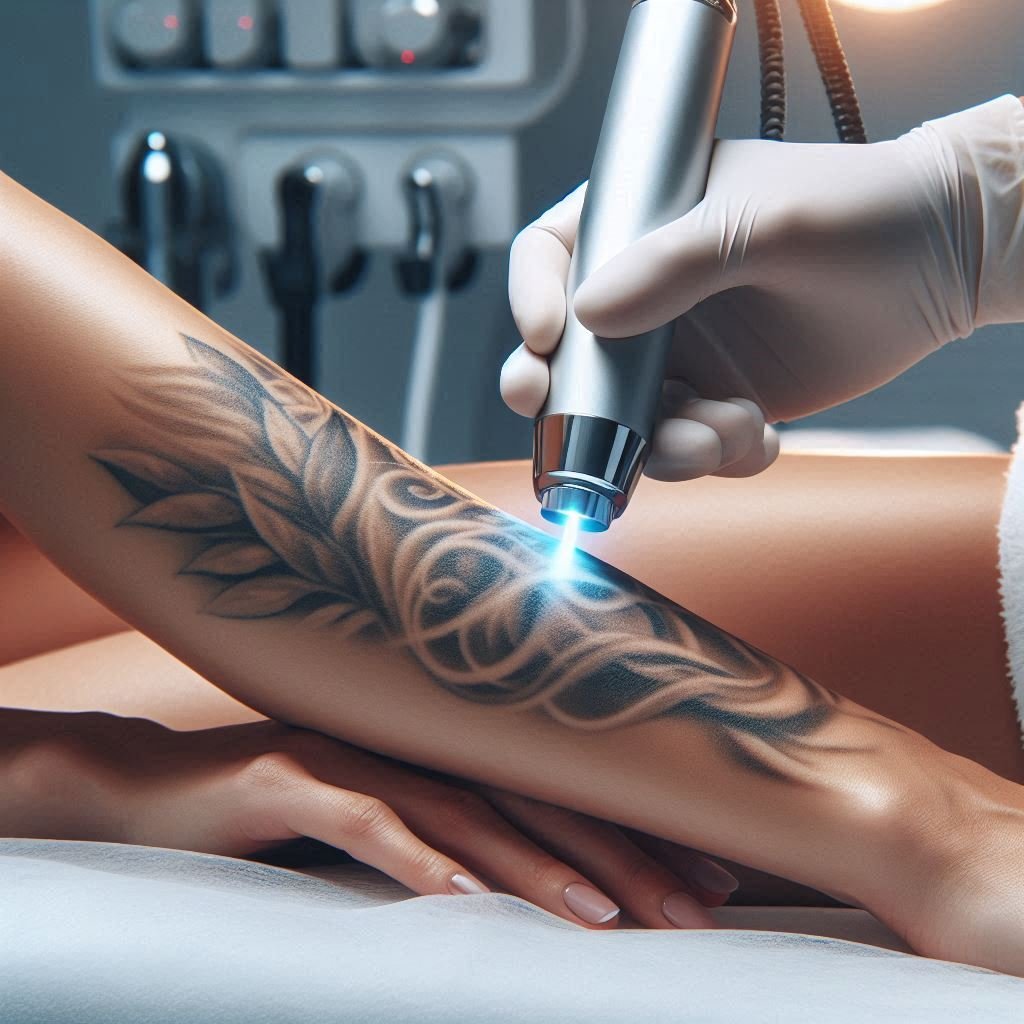
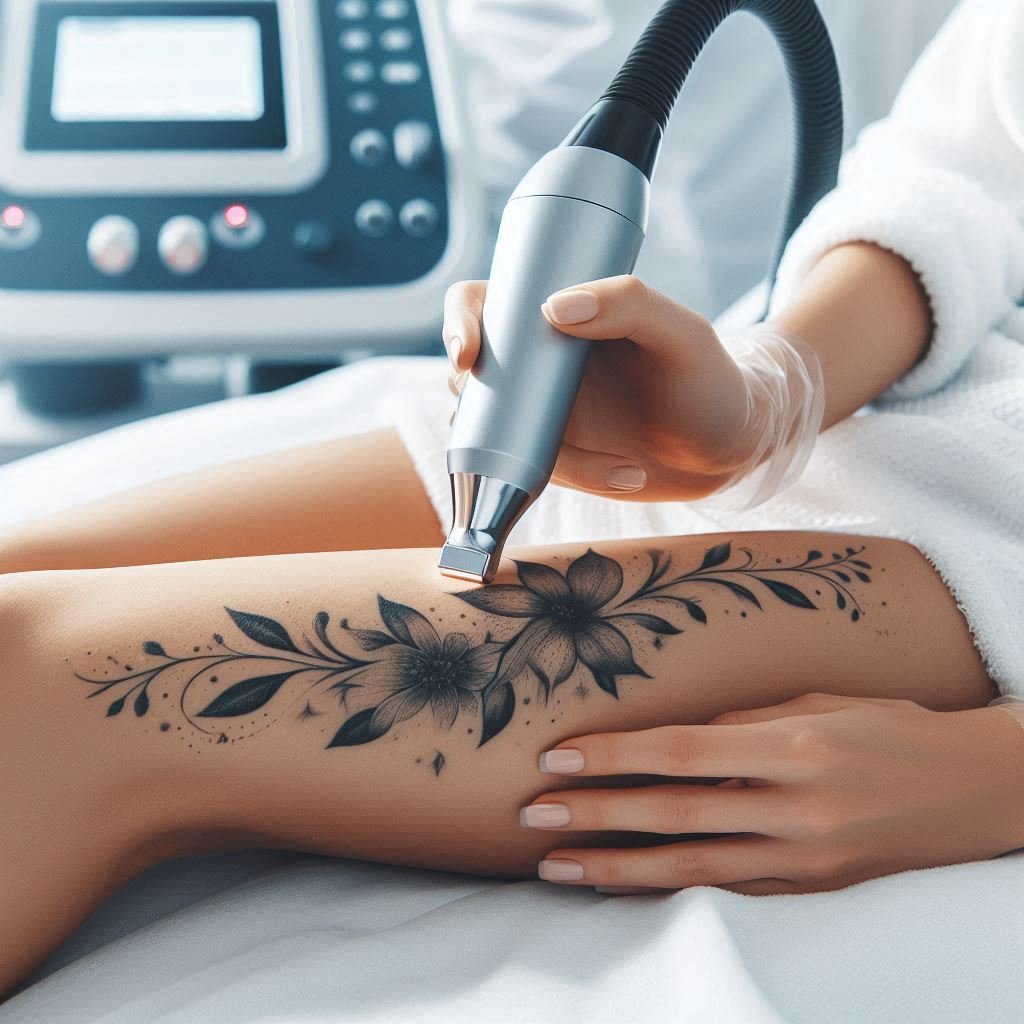
Step 3: The Laser Session
This part surprised me it was quick. My session lasted around 5 minutes.
What it felt like:
- Like tiny rubber bands snapping rapidly
- A bit of heat, but not unbearable
The technician moved the laser in passes over the tattoo. You could actually see the ink turning slightly “frosty” during the process.
Pain Level (Let’s Be Honest)
I’ve had the tattoo done, so I had a reference point.
- Tattoo pain: steady, manageable
- PicoWay removal: sharper, more intense, but shorter
On a scale of 1–10:
- Tattoo: 5/10
- Removal: 7/10 (but over very quickly)
If you’re worried about pain, the short duration makes it tolerable.
Aftercare: This Part Matters More Than You Think
The biggest mistake I almost made was underestimating aftercare.
Here’s what I was told and what actually worked:
Right After the Session
- Skin looked white and slightly swollen
- Mild redness and warmth
First 48 Hours
- Kept it clean and dry
- Applied healing ointment (they gave me one similar to petroleum jelly)
- Covered it loosely
Following Days
- Light scabbing (don’t pick it seriously)
- Slight itching (normal)
What I Learned the Hard Way
During my second session cycle, I got careless and exposed the area to sun too early.
Result:
- Temporary hyperpigmentation (darkening of skin)
It faded over time, but it slowed progress.
Lesson:
Sun protection is non-negotiable.
How Many Sessions It Took (And Why It Varies)
This is where expectations need to be realistic.
My tattoo:
- Black and gray
- Around 6 years old
I needed:
- 6 sessions total
- Spaced about 6–8 weeks apart
What affects your number of sessions:
- Ink color (black fades fastest)
- Tattoo age (older fades easier)
- Ink depth
- Your immune system
One interesting thing I noticed:
The fading wasn’t linear.
- After session 1: barely noticeable change
- After session 3: big improvement
- After session 5: almost gone
It’s a gradual process that suddenly speeds up.
Real Results: What Changed Over Time
Let me break down my actual progress:
After 1 Session
- Slight fading
- Edges looked softer
After 3 Sessions
- Major fading
- Some lines almost invisible
After 5 Sessions
- Only faint shadow left
After 6 Sessions
- Barely noticeable unless you know where to look
Important:
It didn’t completely disappear under harsh lighting but for everyday life, it was essentially gone.
Common Mistakes I Saw (And Almost Made)
While going through this process, I met others at the clinic and noticed patterns.
- Expecting Instant Results
This is not a one-session fix.
If someone promises that it’s a red flag.
- Skipping Sessions or Inconsistent Timing
Your body needs time to clear ink, but delaying too much slows progress.
Stick to a schedule.
- Choosing Clinics Based on Price Alone
I visited one cheaper clinic before deciding.
They:
- Used older machines
- Rushed consultations
- Didn’t explain risks clearly
That was enough for me to walk away.
- Ignoring Skin Type Differences
Darker skin tones need careful laser settings.
A skilled technician makes a huge difference.
Cost: What You’ll Realistically Pay
Let’s talk numbers.
My sessions cost:
- Around $150–$250 per session (depending on size and clinic)
Total:
- Roughly $1,200+ over time
It’s not cheap but spreading sessions over months makes it manageable.
Some clinics offer packages or discounts if you commit upfront.
Is PicoWay Worth It?
From my experience: yes but with realistic expectations.
It’s worth it if:
- You’re patient
- You follow aftercare properly
- You choose a good clinic
It may not be ideal if:
- You want instant removal
- You’re not willing to invest time and money
- Your tattoo has very bright colors (some are harder to remove)
Practical Tips If You’re Considering It
If I had to start over, here’s exactly what I’d do:
- Do a Test Spot First
Ask the clinic to treat a small area.
This helps you:
- See how your skin reacts
- Judge pain tolerance
- Schedule Sessions Around Your Lifestyle
Avoid:
- Beach vacations
- Intense sun exposure periods
Timing matters more than people think.
- Stay Hydrated and Healthy
Your body clears the ink not the laser alone.
I noticed better fading when:
- I exercised regularly
- Stayed hydrated
- Take Progress Photos
After each session, I took photos in the same lighting.
This helped me:
- Stay motivated
- See real progress (even when it felt slow)
- Don’t Rush Additional Treatments
More sessions doesn’t always mean faster results.
Your body needs recovery time.
Final Thoughts
Going through PicoWay laser tattoo removal taught me something I didn’t expect: patience.
It’s not just a cosmetic procedure it’s a process that involves your skin, your immune system, and your habits.
If you approach it realistically, follow proper care, and choose the right clinic, the results can be genuinely satisfying. My tattoo is now barely visible, and more importantly, I feel more comfortable in my own skin again.
If you’re on the fence, the best next step isn’t booking a full treatment it’s simply getting a consultation and asking honest questions. That’s exactly how I started, and it made all the difference.